Introduction
Author: Movania Muhammad Mobeen
Hello readers, In this article, we will learn how to port the 7th tutorial on camera and 3D freedom in the new OpenGL 3.3. We saw in the last tutorial how to use matrices to handle transformations for us in OpenGL 3.3 and above. With that knowledge in our hands, we can now explore on how to handle camera with multiple objects. Since the first tutorial, we know that handling of geometry in OpenGL 3.0 and above requires the use of vertex buffer objects VBO along with their state management using the vertex array object (VAO). We already loaded the texture mapped 3ds mesh in the previous tutorial so the geometry handling for this tutorial is exactly the same as the last tutorial. Moreover, the lighting calculations are going to be exactly the same. The only thing changed in this tutorial is the addition of camera transformation using custom matrix handling. Here we will show you how to create a camera to create a point of view to see our world from.We also handle the keyboard to enable the user to navigate through the virtual world using our camera. So lets get started.
Custom camera object
In this tutorial, we would create a new structure type we call the camera. If you look at the code it is just a wrapping of a matrix. While in the previous tutorial, we assumed the view matrix to be implicitly specified by the object matrix, now we have a separate view matrix contained by our camera. The camera is defined as follows:
    typedef struct {
		matrix_4x4_type matrix; //posizione e rotazione camera assi locali
	} camera_type, *camera_type_ptr;
Similar to object matrices, we define functions to assign translation and rotation values to our camera matrix. At initialization, we assign the camera matrix as identity matrix as follows:
    //Camera initialization
	MatrIdentity_4x4(camera.matrix);
Then in our rendering function, we multiply the current object's matrix to the camera matrix to get the modelview matrix (MV). When using the glm library, the code is this:
    glm::mat4 M = glm::mat4(object[i].matrix[0][0],object[i].matrix[0][1], object[i].matrix[0][2], object[i].matrix[0][3],
							object[i].matrix[1][0],object[i].matrix[1][1], object[i].matrix[1][2], object[i].matrix[1][3],
							object[i].matrix[2][0],object[i].matrix[2][1], object[i].matrix[2][2], object[i].matrix[2][3],
							object[i].matrix[3][0],object[i].matrix[3][1], object[i].matrix[3][2], object[i].matrix[3][3]);

	glm::mat4 V = glm::mat4(camera.matrix[0][0],camera.matrix[0][1], camera.matrix[0][2], camera.matrix[0][3],
						    camera.matrix[1][0],camera.matrix[1][1], camera.matrix[1][2], camera.matrix[1][3],
							camera.matrix[2][0],camera.matrix[2][1], camera.matrix[2][2], camera.matrix[2][3],
							camera.matrix[3][0],camera.matrix[3][1], camera.matrix[3][2], camera.matrix[3][3]);
	glm::mat4 MV = V*M;
When using the spacesimulator.net custom matrix library, the code to obtain the modelview matrix (MV) is as follows:
MatrMul_4x4_4x4(object[i].matrix, camera.matrix, MV);
Once we have the modelview matrix, we obtain the normal matrix (N). When using the glm library, we obtain the normal matrix (N) as follows:
glm::mat3 N = glm::transpose(glm::inverse(glm::mat3(MV)));
When using the spacesimulator.net custom matrix library, the code to obtain the normal matrix (N) is as follows:
    matrix_4x4_type N2;
	matrix_3x3_type N;
	MatrIdentity_4x4(N2);
	Fast_Inverse(MV, tmp);
	MatrCopy_3x3_trsp(N2,tmp);
	MatrCopy_4x4_3x3(N2, N);
This first obtains the inverse of the modelview (MV) matrix and then finds its transpose and finally copies the upper left 3x3 matrix to get the normal matrix (N). Next we pass the obtained matrices to the shader and then issue our DrawElements call to render our meshes. The same code as above is repeated for each mesh and we obtain the transformation of the mesh. Thats it for per vertex lighting in OpenGL3.3. We can choose whether we need GLM or the spacesimulator.net custom matrix library by defining USE_GLM at the start of the code as follows:
#define USE_GLM
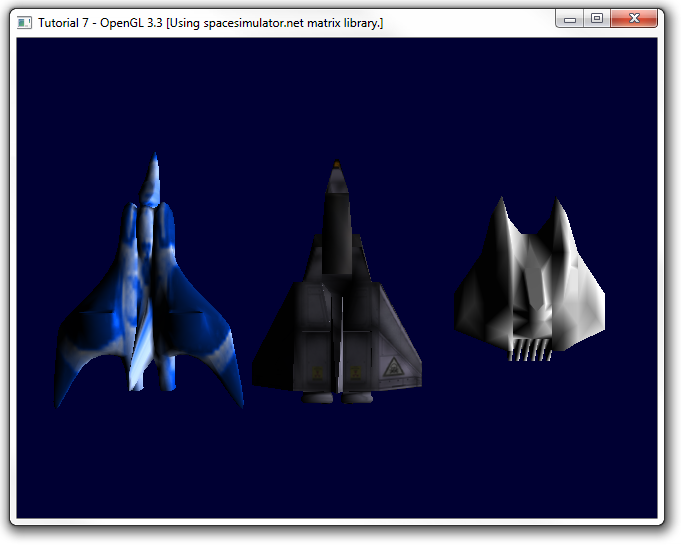
Running the code gives us the following output. You may press the 'w','a','s','d' keys along with several other keys to transform the camera and see the result:
SOURCE CODE
The Source Code of this lesson can be downloaded from the Tutorials Main Page